Preparing Your Home for AC Installation in Manor TX: A Room-by-Room Guide
Getting a new air conditioner installed can feel disruptive, but a little planning turns the day into a few focused hours rather than an extended home invasion. If you live in Manor, TX, and you called for Ac installation in Manor TX or searched for emergency AC repair near me before deciding to replace an older unit, this guide will help you protect your possessions, save the technician time, and get the system performing at peak efficiency from day one. I write from years of field experience and from watching dozens of installs go smoothly when homeowners take a few simple steps ahead of time.
Why it matters here Manor sits in Central Texas heat that pushes most systems hard by late spring. A proper installation reduces callbacks for AC Repair in Manor TX and extends equipment life, which is important since replacing a compressor or paying for emergency service in high season can cost hundreds to thousands of dollars. A well-prepared house also shortens installation time, lowering labor costs if your contractor bills by the hour.
Before the crew arrives: paperwork, access, and briefings Confirm the appointment window and the crew size. Call your installer the day before and verify model numbers, expected equipment dimensions, and whether the crew will need a dedicated circuit turned off or access to circuit breakers. If the replacement involves refrigerant recovery or a new pad for a condenser, that changes what they bring and how much space they’ll need in your yard.
Photograph the outdoor unit location and the attic or closet where the indoor unit connects. These photos save time if the install crew needs to order a part or check clearances before they arrive. Ask whether they will haul away the old equipment and whether there is an additional disposal fee. When you hired ATX Heating & Air Conditioning LLC or another local company for Ac installation in Manor TX, those terms should have been in the estimate, but reconfirming avoids surprises.
A practical checklist for the day of install
- Clear a 6 to 10 foot workspace around indoor and outdoor equipment, remove vehicles from the driveway nearest the house, and make a clear path from the street to the installation sites. This keeps tools, refrigerant tanks, and the new condenser from having to be carried through tight spaces.
- Secure pets and children. Place them in a single room closed off from the work area, or arrange for them to stay with a neighbor for the day. Loud power tools, sudden door openings, and the presence of strangers create safety and stress issues.
- Move furniture and valuable items at least 3 feet from vents and around the furnace or AHU location. Even if the installers wear shoe covers, vibrations and dust can shift small items or scratch floors.
- Make attic access, closet doors, and electrical panels easily reachable. If the attic hatch is in a closet, clear that closet of clothing and boxes so a technician can open the hatch without pulling everything out.
- Confirm water and electrical shutoff locations with the crew. For example, if a condensate line needs to be routed, the technician may need access to a water drain or sink trap.
Room-by-room professional AC installation Manor prep that matters
Entryways and hallways These are the installation paths. A narrow hallway can slow a team and increase the chance of scuffed walls. Remove rugs that can wrinkle and create tripping hazards, tape down cords that must cross walkways, and temporarily move shoe racks or small furniture. If your hallway has decorative wainscoting or open shelving, consider draping a sheet over delicate items. Technicians are careful, but carrying a 200-pound condenser pad or an air handler coil through tight quarters increases risk.
Garage and utility room The garage often becomes a temporary storage area for tools, refrigerant cylinders, and the old unit. Move cars to the street and clear a 10 by 10 foot area near the work zone. If your furnace shares space with a laundry area, clear the top of the furnace and nearby shelving. Technicians need unobstructed access to the gas shutoff, electrical panel, and the furnace filter access. Replace a very dirty furnace filter a few days before installation to reduce airborne dust during the work.
Living rooms and bedrooms Your main goal is to protect finishes and keep dust off fabrics. Close window treatments and cover upholstered furniture with sheets or drop cloths if the indoor coil will be replaced; the coil change can stir dust. Move plants out of the team’s path and relocate wall art to avoid accidental knocks. If the installers will run a new thermostat wire through baseboards or behind plaster, those routes are easier when furniture is shifted away from walls.
Attic and crawl spaces Many install problems arise when attic access is jammed or crawl spaces are cluttered. Clear a 3 foot radius around the hatch and make sure the ladder is easily deployable. If you have flooring or stored boxes in the attic, relocate them for the day to give technicians room to work. In crawl spaces, remove loose items and mark low-clearance areas so crews can move safely. If insulation is loose and might fall, point it out to the team; poor insulation can contaminate the air handler during work.
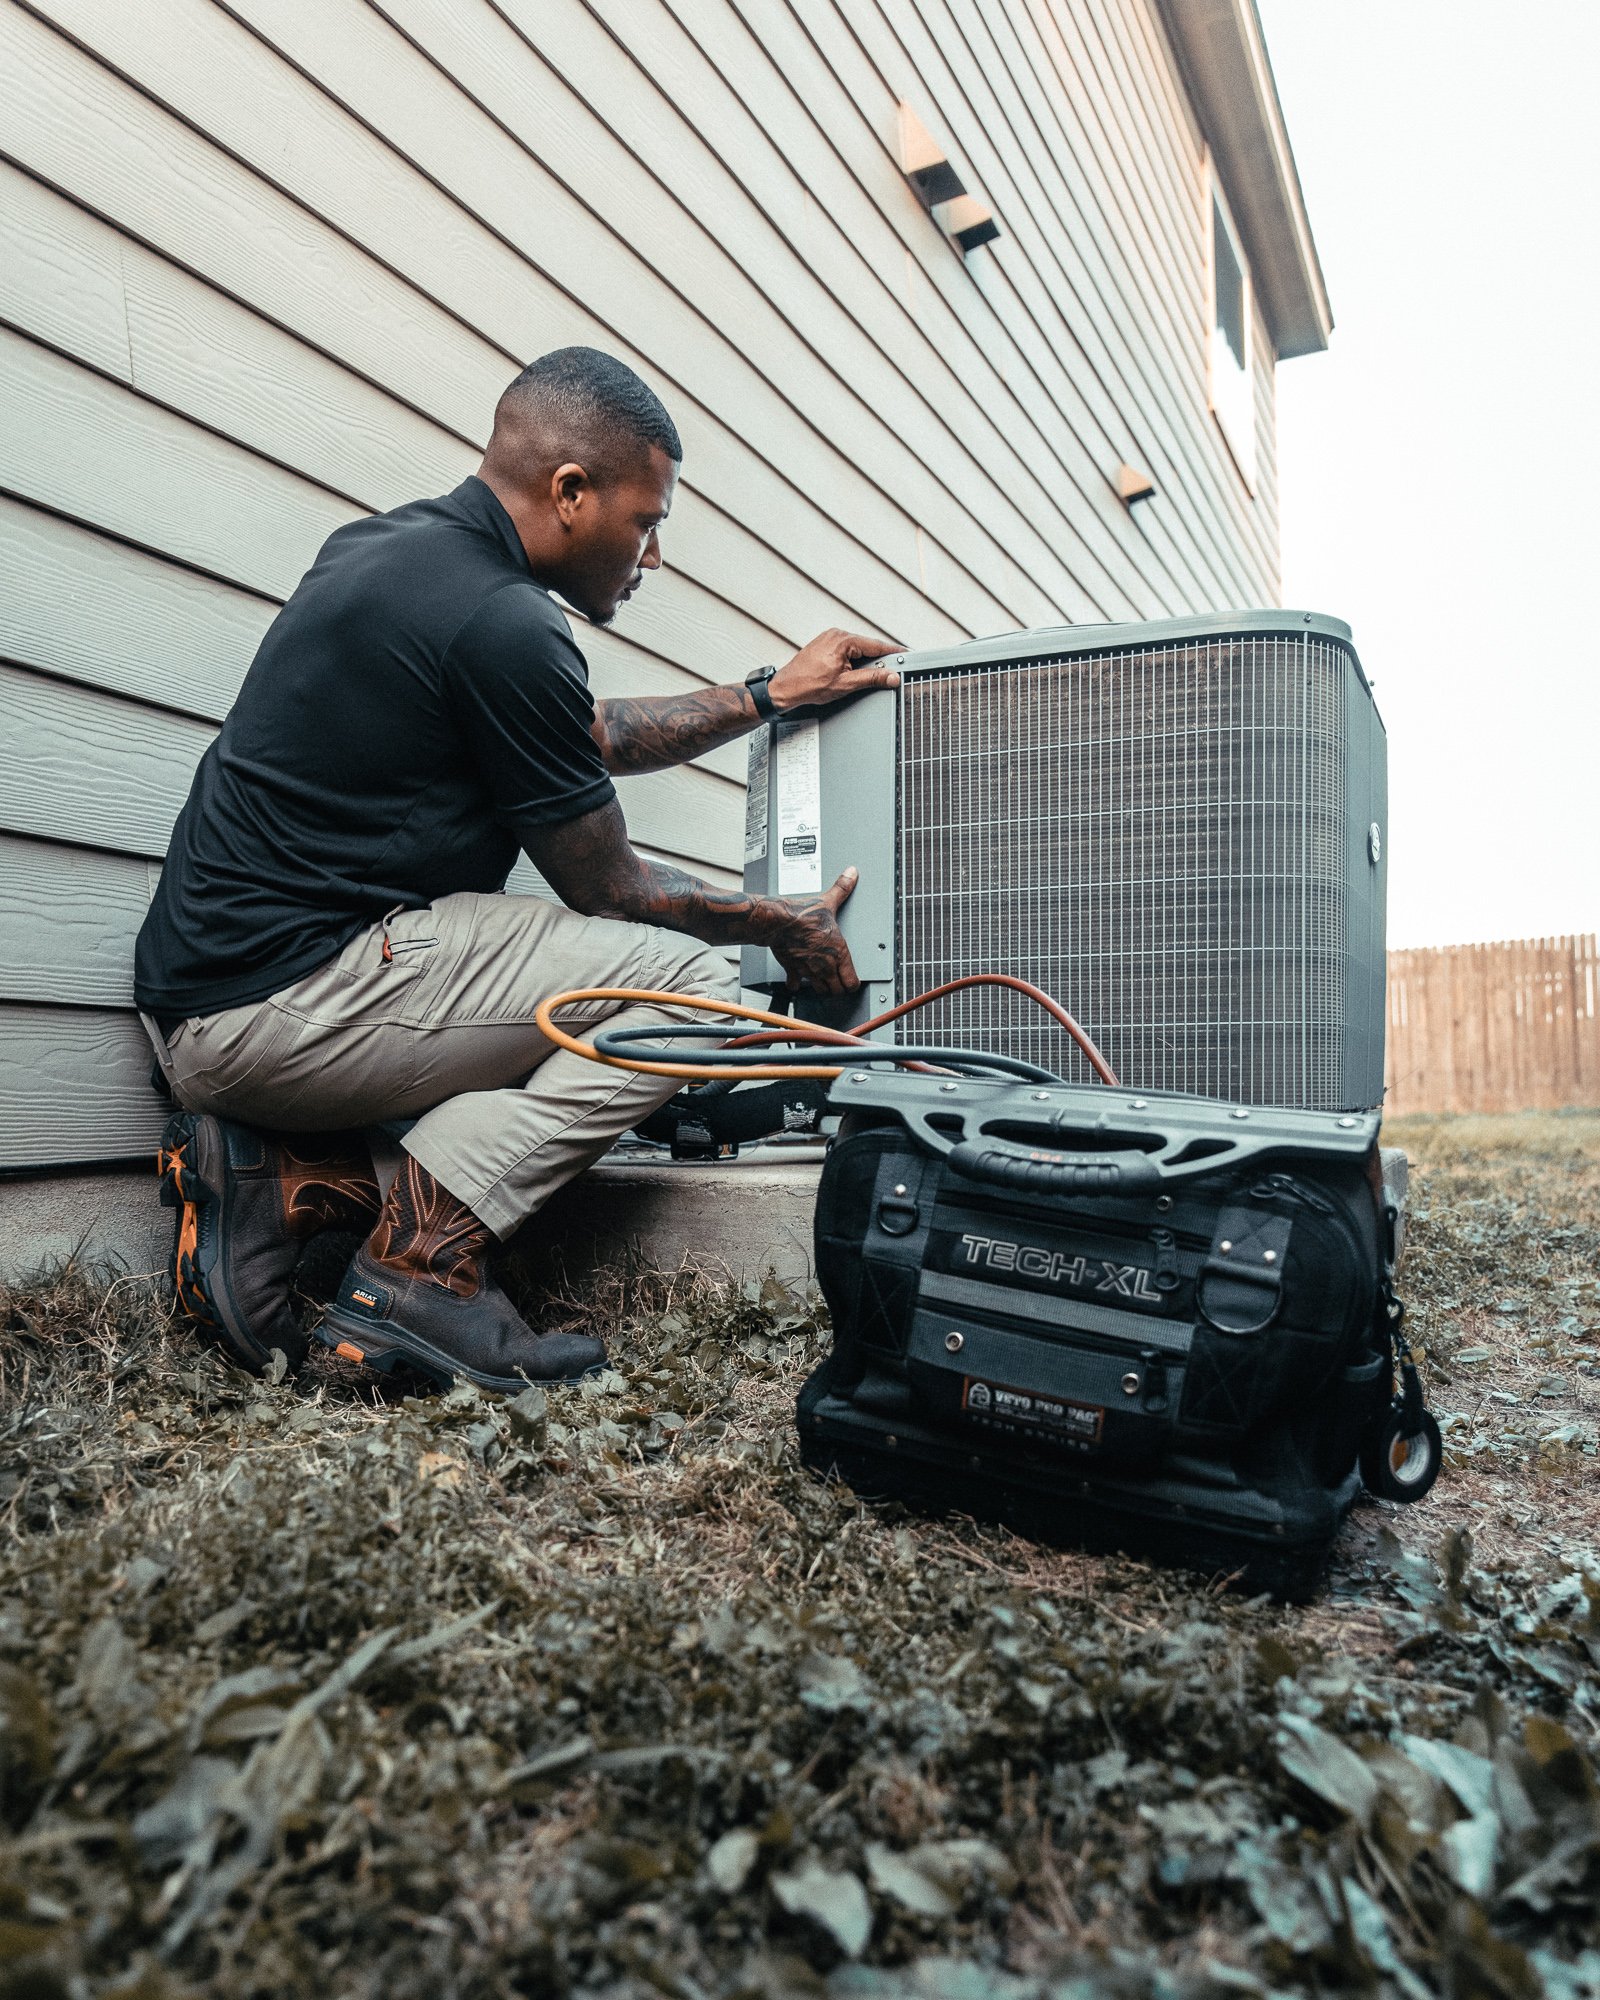
Outdoor equipment pad and yard Set the stage for the condenser. Prune plants and move potted items at least 3 feet away from the existing unit location. Level ground makes it easier to set a new pad and reduces the chance of settling later. If your yard has sprinkler heads near the unit location, mark them so they are not damaged. Think about future unit access, too; avoid stacking firewood or placing permanent structures between the condenser and the street.
Hidden issues homeowners should check before installation Electrical capacity. Older homes sometimes lack the dedicated 240V circuit a modern condenser unit needs. Have your electrician or the HVAC crew verify that your electrical panel can accept the new breaker size, typically between 30 and 60 amps depending on the unit’s tonnage. If a new service upgrade is required, costs can rise significantly. Get an estimate before the installer arrives so you can budget.
Duct condition. If the ducts are leaky, insulating, or undersized, a new high-efficiency condenser will not deliver expected comfort or savings. A quick visual inspection can reveal loose joints or crushed flex duct. Consider scheduling a duct assessment or duct sealing before or at the same time as the AC install. In many cases, sealing ducts yields better results than upsizing the condenser.
Refrigerant disposal and permits. Texas regulations require proper handling of refrigerants. Confirm that your contractor will recover the old refrigerant and dispose of it legally. For many installations in Manor, permits are required; your contractor should pull them. If you live in a homeowner association, check whether exterior unit placement or condenser noise levels are subject to restrictions.
What to expect during the install Expect noise and a few hours of heavy lifting. A condenser swap typically takes four to eight hours for a straightforward replacement. A full system change including ductwork, electrical upgrades, or a furnace swap can be a one to three day project. The crew will first remove the old unit, then set the new pad and condenser, install the indoor coil or air handler if needed, and run refrigerant lines. If the lines are replaced, they will vacuum the system to remove moisture and then charge it to the manufacturer’s specified level.
A short list of interactions to plan for with the crew
- Walk the project with the lead technician, point out special access or fragile finishes, and confirm where the crew will stage the new equipment and the old unit for pickup.
- Ask the team to explain any recommended changes they notice during work, such as duct repairs or condensate routing options, before they begin additional tasks.
- Get a clear estimate for any work discovered as they open access panels, including parts and labor, and consent in writing before those extras are performed.
Post-install checks and immediate maintenance After the system is running, take 15 to 30 minutes for a short commissioning checklist with the technician. Have them show you the thermostat settings, the breaker location for the outdoor unit, and the air filter size and replacement interval. Verify airflow at a few vents with a simple feel test, and ask for the system’s operating pressures and temperatures if you are technical and want to keep records. Keep the purchase paperwork and warranty in a safe place. Many manufacturers require registered installation details and the installer’s information for warranty claims.
Longer-term steps that protect your investment Change filters regularly. A new emergency AC repair near me high-efficiency system needs clean filters to meet performance expectations. For most households, replacing a 1 inch filter every 30 to 90 days works; larger media filters can last longer. Schedule biannual tune-ups, one before cooling season and one before heating season if your system also provides heat. Regular maintenance catches small issues like refrigerant leaks or failing capacitors before they become emergency AC repair in Manor TX calls.
Landscaping and pad care. Keep at least two feet of clear space around the condenser and trim foliage as it grows. Ensure the pad stays level; as soil settles, the condenser can become misaligned, stressing the refrigerant lines and fan motor. If you have gravel or mulch beds, replenish them periodically to maintain proper drainage away from the condenser.
When to call for emergency help If the new system trips breakers repeatedly, makes grinding noises, or emits a burning smell, shut it off and call for service. Searching for emergency AC repair near me will surface local options, but use the installer’s emergency line first if the problem appears immediately after installation, because many contractors honor post-install corrections as part of the service. Keep in mind that some issues are electrical and others are mechanical; the faster you respond, the less likely a small problem will become a major failure.
Why the right contractor matters Hiring a reputable local contractor like ATX Heating & Air Conditioning LLC can simplify the process. Local companies understand Manor’s climate and permit requirements, have working relationships with electricians and permit offices, and can be on-site faster when you need routine or emergency service. When evaluating bids, look beyond price. Ask for references, confirm licensing and insurance, and request a written proposal that lists equipment models, efficiency ratings, warranties, and any exclusions.
Final thoughts on trade-offs and choices There is always a trade-off between upfront cost, efficiency, and long-term reliability. A higher-efficiency unit costs more initially but saves on energy bills and often qualifies for rebates. A simple condenser swap is fastest, but replacing the air handler or ducts at the same time yields better comfort and fewer service calls. In older homes, investing in duct improvements first can maximize the benefit of a new condenser. Talk through scenarios with your installer, ask to see performance estimates, and consider financing only if it helps you choose a system that reduces monthly utility and repair expenses.
Getting prepared transforms installation day from a disruption into a smooth, predictable upgrade. Clear pathways, covered belongings, accessible mechanical spaces, and a short pre-install conversation with your contractor shave hours off the job and reduce risk. When you combine that preparation with a trusted local installer, you set the stage for comfort that lasts and fewer calls for AC Repair in Manor TX later on.
ATX Heating & Air Conditioning
13809 Theodore Roosevelt St., Manor, TX - 78653
(737) 406-8083
[email protected]
Website: https://atxheatingandac.com/